Backyard Garden Guide
Want fresh vegetables but daunted by the idea of all that planting, weeding and watering? Here’s when to start, what to grow and how to succeed in producing a bounty of food.
April 2018
BY Teresa Woodard | Illustrations by Jennifer Kalis
April 2018
BY Teresa Woodard | Illustrations by Jennifer Kalis
Get Your Timing Right
Ohioans enjoy a reasonably long vegetable-gardening season, starting as early as March and stretching on through late November. But success has as much to do with when you plant as it does what you plant.
“Timing is key to making the most of the season,” says Brad Bergefurd, educator at the Ohio State University Extension office in Scioto County and the college’s South Centers research farm in Pike County. “Some vegetable plants like broccoli and cabbage need an early start, while others do better once the soil warms up.”
He says to start with cool-season vegetables, such as broccoli, cabbage and peas, that can tolerate lower soil and air temperatures, even a frost. Bergefurd also suggests beginning with transplants for broccoli and cabbage, either grown from seeds indoors or purchased at a garden center.
“With transplants, you get a 4-to-6-week jump on the season,” he explains.
Warmer-season crops — squash, tomatoes, cucumbers, peppers and beans — should be planted once soil temperatures reach 55 degrees or higher and the threat of frost has passed, typically in May. (Local soil temperatures can be found on the Ohio Agricultural Research and Development Center’s website, oardc.ohio-state.edu/weather1.)
“Try laying black plastic mulch across the garden soil,” says Bergefurd. “It will raise the soil temperature as much as 10 to 12 degrees.”
***

Have a Plan
When Pam Bennett, horticulture educator and master garden volunteer program director at the Ohio State University Extension office in Clark County, teaches vegetable-gardening classes, she advises her students to always start with a plan.
“If not, it’s way too easy to overplant when you go to the garden store and are tempted to buy the bargain four-pack of tomatoes for $1.99 versus the larger, single one for $1.29,” she says.
Bennett says to consider four things in your plan: available time, available space, the size of your family and whether you plan to freeze or preserve what you grow.
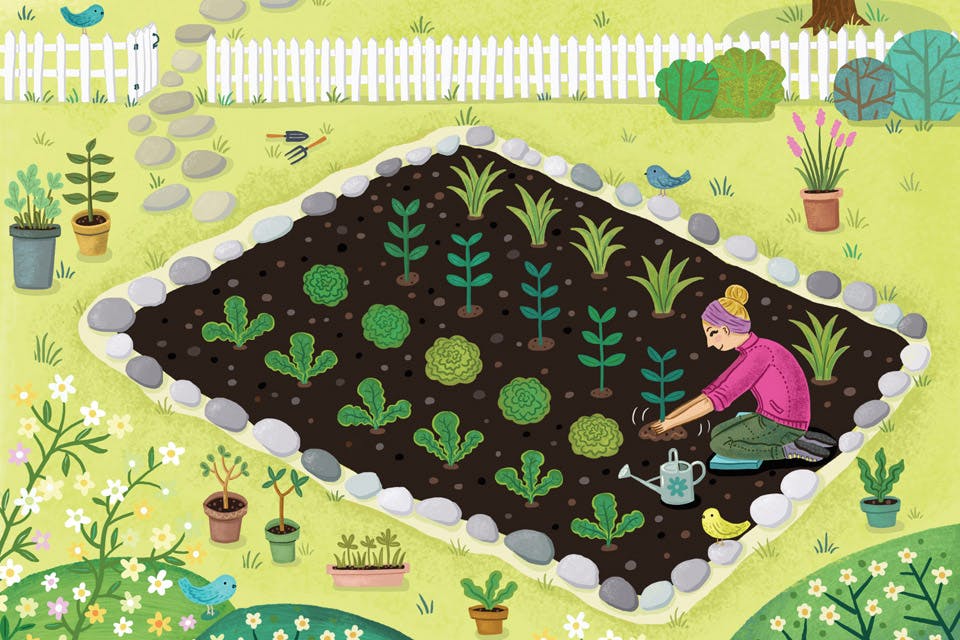
“It’s best to start small the first year then go from there,” says Bennett, adding that a 10-foot-by-10-foot garden would be a small one for a family of four. Begin with a list of your favorite vegetables, but don’t be afraid to experiment as well.
“I also encourage people to try something new,” Bennett says. “I try a new lettuce each year and found some new favorites like deer tongue and red speckled varieties that I would never have known if I was always planting the classic Simpson lettuce.”
Next, consider your space. The ideal location has six or more hours of sunlight, good drainage and easy access to a water source.
“When it gets to be July or August, you want to have easy access to a hose and spigot,” says Bennett. “It’s a critical time for regular watering as the plants produce their fruits and vegetables.”
If sunny spaces are limited, don’t despair. Simply choose a place that gets the most sun or grow plants in containers on a sunny patio.
“Lettuce, and even tomatoes and peppers, will grow in some shade,” says Bennett. “You just won’t get as many.”
Finally, sketch your garden layout in a loose-leaf notebook with page protectors for storing seed packets. For your garden layout, choose an appropriate planting approach. Traditional wide rows are easy to weed and mulch, while hill planting warms the ground temperature for heat-loving squash and melon vines. Then, there’s intensive planting, popularized by the square-foot method, which divides a raised bed into 1-foot planting squares.
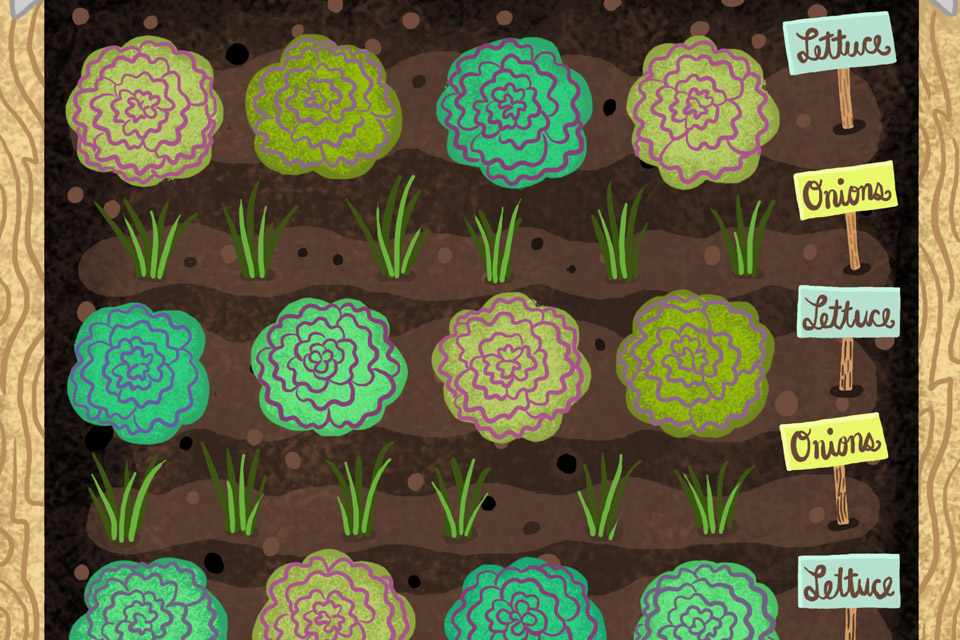
For those with limited garden space, Bennett suggests a few strategies. For one, you can tightly plant onions between rows of lettuce.
“The fast-growing lettuce is gone by the time the slower maturing onions need more room,” says Bennett.
She adds that gardeners can also train vining plants to grow upward by adding trellises, but “remember to orient the trellises east to west to avoid shading nearby crops.”
Finally, succession planting allows gardeners to grow a warm-season crop such as green beans after harvesting a cool-season crop like spinach, or plant a new row of lettuce weekly for four weeks. Another option is planting varieties of the same vegetable that have different maturity dates (found on the back of the seed packets). “For example, try three different edamame that mature at 70, 80 and 100 days,” Bennett says.
Some plant varieties are especially suited for small gardens or containers. Look for plants and seeds with names that include words such as patio, pixie, tiny, baby or dwarf
***

Build a Raised Bed
Amy Stone, educator at the Ohio State University Extension office in Lucas County, has plenty of experience growing food at her family’s farm and at several community plots, including one where she worked with volunteer youth to build a series of raised-bed vegetable gardens.
“A 4-by-8-foot, raised-bed garden is a good starting point for new gardeners, and you can always build two if you need more,” she says.
These large wooden frames sit atop the ground and are filled with soil and plants. Stone says they tend to warm and drain quicker, making them easier to start in early spring. Here are her 10 steps for creating your own raised-bed garden:
1. Location: Select a sunny location that drains well.
2. Frame: Build the frame with treated lumber, which lasts longer than the untreated variety. The 4-by-8-foot frame should be a minimum of 6 inches deep, but 12 inches or more is ideal for root growth. “Reinforce the corners with metal corner braces available at the hardware store,” says Stone. “Add one or two 4-foot crossbars for stability. Next, line the underside with cloth or newspapers to keep grass or weeds from entering the raised bed garden.”
3. Soil: Fill the frame with a mix of topsoil and compost (leaf, mushroom or manure). “A 2-to-1 ratio works well,” she says. “Water the raised bed, and top off with more soil as it settles.”
4. Planting: Use information on seed packets or plant tags of transplants as helpful guides for timing and spacing requirements. Add row markers to identify seeded areas.
5. Water: Make sure the garden gets one inch of water per week. “Remember raised beds tend to dry out quicker, so watch for signs of dry soil and wilting plants,” says Stone. “On the other hand, take care not to overwater, which also causes wilting.”
6. Weeding: Keeping your garden free from weeds is essential. Use markers to help differentiate seedlings from unwanted weeds. Take photos or research seedling images online if you need help identifying them.
7. Mulch: Once seedlings emerge or transplants are planted, add a layer of mulch to help control weeds and retain moisture and warmth. Newspaper can also work as mulch but needs to be tacked down.
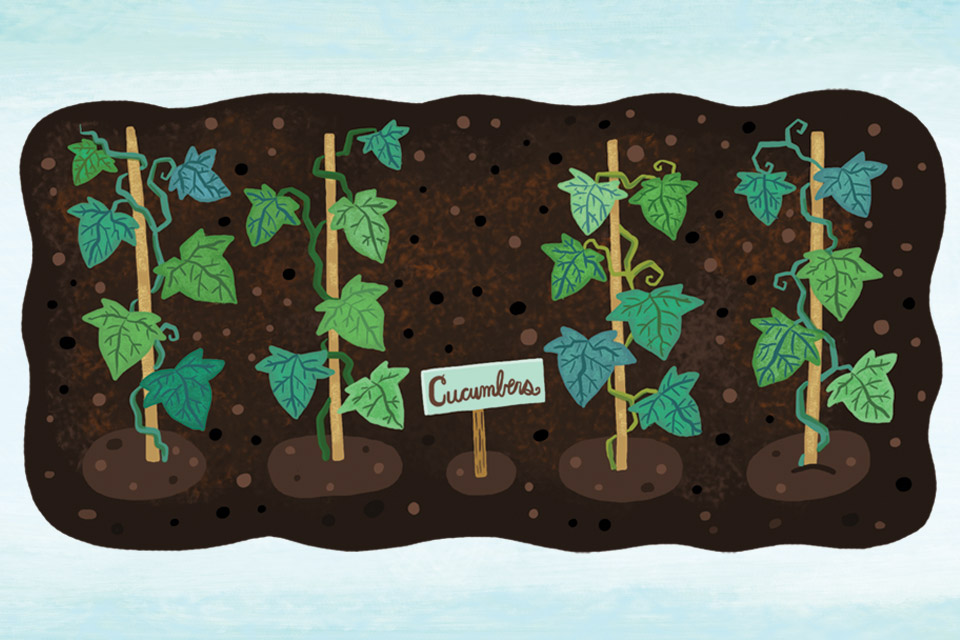
8. Supports: Train sprawling plants like cucumbers to grow up wooden stakes or old tool handles by tying them with string, twine or stockings. Livestock fencing panels also work well.
9. Pests and Disease: Spend time daily in your garden, inspecting plants. Check the top and undersides of leaves for eggs, frass (insect excrement) and other clues. “Some insects are beneficial, and many problem ones can be removed by hand if caught early,” says Stone.
10. Journal: Keep a notebook and store it in a mailbox in the garden. Record dates and notes about planting times, weather conditions, insect activity, harvest times, successes and failures. “These notes are valuable for next season’s garden,” she says.
***
Plant This!
Mike Hogan, an associate professor and educator at the Ohio State University Extension office in Franklin County, oversees the vegetable trial gardens at Waterman Farms on the university’s west campus. “We have lots of things we can grow in the garden in Ohio, because we have multiple seasons,” he says. His suggestion: a mix of cool- and warm-season crops for an ongoing harvest.
Cool-season Crops (Spring & Fall)
Leaf lettuces are easier to grow than head lettuces and come in many different colors and textures. “Directly sow seeds in the garden as early as March or April to ensure a sweet, productive crop,” says Hogan.
Radishes are a very simple, fast-growing crop in a variety of colors. “Watch them closely, so they don’t get too big and split,” he says. “They are best harvested when small and tender.”
Peas are an early garden treat. “Plant the seeds early in March or April, and give the vines a trellis to climb,” he says. “Chicken wire or branches with string work well.”
Beets thrive in cooler temperatures. “Plant one crop of seeds in spring and another in late summer,” says Hogan.
Greens and kale are easy spring crops to grow. “Many are highly ornamental and can be added to landscape beds and decorative containers,” he says.
***
Warm-season Crops (Summer)
Squash come in summer and winter varieties. “Avoid insect problems by using transplants and delay planting until a little later in the season, ideally mid-June,” says Hogan.
Tomatoes can be challenging but highly rewarding. Start with transplants, wait to plant them in warm weather, stake them and evenly water them throughout the season. “Avoid disease problems by hand- or hose-watering the plants at their base and not the leaves,” advises Hogan.
Sweet corn is so desirable, but a challenge for pocket gardens. “To ensure good pollination, plant corn in a block of two or three rows instead of a long, single row,” he says.
Eggplants are available in many varieties from Albino to Black Beauty to Little Fingers. “While they’re easy to grow, beetles can be a problem,” says Hogan. “Monitor them closely.”
Peppers are very popular for their variety of spices, colors, shapes and degrees of hotness. “Remember to consistently water pepper plants to avoid thin walls,” he says.
Cucumbers are best grown on a trellis (except for bush varieties). “Plant transplants later, ideally mid-June, to avoid pest problems,” he says. “Also try compact bush varieties for container gardens.”
Green beans are best planted from seeds, but many gardeners make the mistake of planting the entire packet at once. “Try spacing four plantings a week apart to extend the harvest,” suggests Hogan.
Related Articles
.jpg?sfvrsn=fc2b738_5&w=960&auto=compress%2cformat)
Grow an Ohio Garden with the Native Plant Backyard Challenge
Make your outdoor space into a haven for birds, butterflies and pollinators this season by taking part in this National Audubon Society program. READ MORE >>

How to Plant a Native Ohio Garden
Terri and Randy Litchfield created a living landscape of native plants outside their Delaware home. Here’s how you can, too. READ MORE >>

Ohio Finds: Zoar Garden Notebook
This personal notebook chronicles the work of Simon Beuter, who cared for the German Separatists community’s expansive garden. READ MORE >>


